Every glamping tent looks dreamy in the photos: a crisp canvas dome on a sunlit meadow, fairy lights glowing, a proper bed inside. In reality, two tents that photograph identically can feel worlds apart in person. One might stay cool and dry through a summer storm, while the other turns into a sauna by mid-morning and lets rain seep through the seams. Comfort, weather resistance and price all vary far more than listings suggest, so it pays to know what you are actually booking.
This guide walks you through the decisions that matter most when choosing a glamping tent. We will cover how to match the tent style to your trip, how to size it for your group and furniture, and how materials affect warmth and rain performance. You will also find advice on picking the right tent for the season, understanding what you are paying for, checking a site before you book, and a short wrap-up to pull the choice together. By the end, picking the right tent should feel straightforward rather than a gamble.
Match the Glamping Tent Style to Your Trip
The single biggest mistake glampers make is falling in love with a tent style that does not suit their destination. A romantic bell tent on a windy clifftop or a dome in the middle of a heatwave rarely delivers the experience the photos promised. Start by asking where you are going, how long you are staying, and what the weather is likely to do.
Classic styles for easy trips
Bell tents are the round, single-pole tents you have probably seen at festivals and on flat meadows. Their simple shape and open feel suit relaxed summer camping trips, especially on level ground where the circular footprint works well. They typically sleep 2-6 people depending on the model, with diameters of 3-7 meters, and they shine in calm, warm conditions on festival-style sites where the vibe matters more than rugged weather performance.
Safari-style canvas tents are a step up in structure. With straight walls, a ridge line and often separate rooms, they offer genuine standing room and space for real beds. That makes them the best pick for longer stays of several nights or more, where waking up without a sore back and being able to walk around comfortably really matters.
Weather-ready options
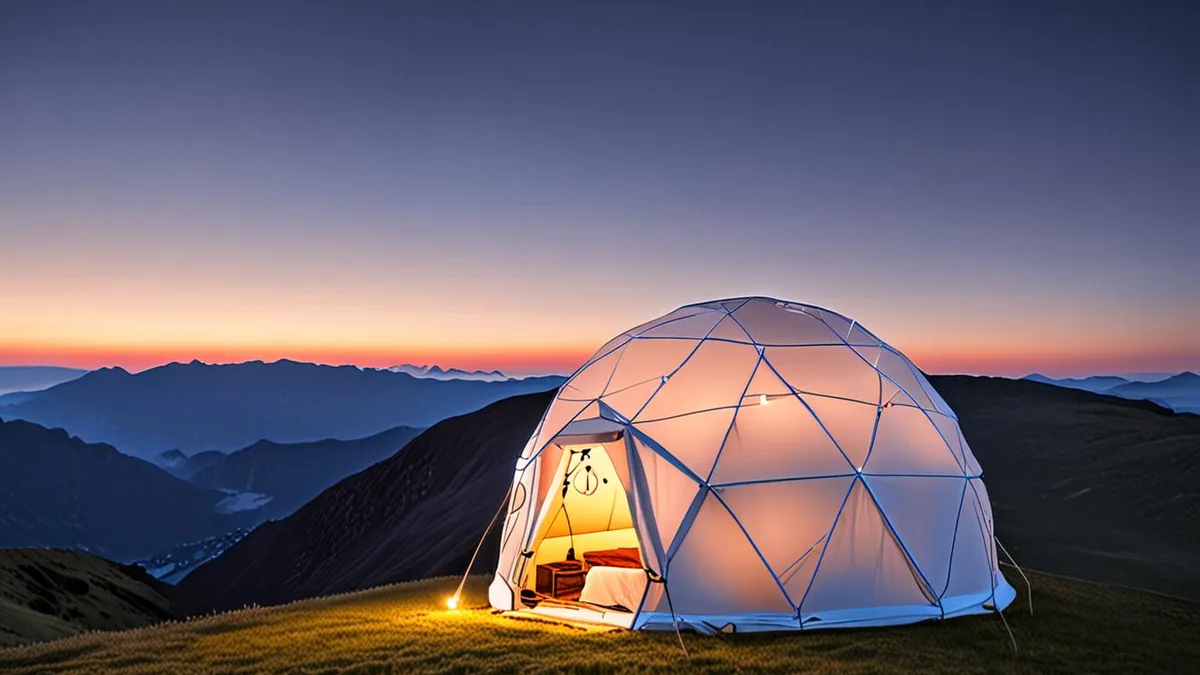
Geodesic domes are the engineers’ answer to bad weather. Their interlocking triangular frame distributes stress across the whole structure, so they handle wind, cold and snow far better than softer-sided designs. If your trip involves mountains, exposed ridgelines or shoulder-season chill, a dome is usually the safest choice.
Pod and cabin-style tents go one step further, with rigid panels or heavily insulated walls that offer the most protection of any glamping option. They are the pick for winter trips or exposed coastal locations, where salt wind and driving rain would make lighter tents miserable. Check with your host about heating and storm ratings if you are booking one of these for serious weather.
Size and Sleeping Capacity
Tent sizes are usually described by diameter for round tents and by floor area for rectangular ones, and neither number tells you much on its own. A 4-meter bell tent technically sleeps six if everyone is lying shoulder to shoulder in sleeping bags. Add a queen bed, a cooler and two suitcases, and that same tent suddenly feels snug for two.
As a rule of thumb, a diameter of 3-5 meters works well for couples or small families of 2-4 people. That range gives you room for a proper bed and a little floor space without paying for capacity you will never use. If you plan to furnish the tent rather than sleep on pads, treat the furniture as an extra person when checking capacity.
- Standing headroom: If you want to walk around inside rather than crouch, look for a center height of around 2 meters or more, which most safari-style tents and larger domes provide but smaller bell tents do not.
- Door orientation and size: A wide, zip-open front door makes it much easier to move luggage and a cot in and out than a single narrow flap, and a covered porch area keeps wet gear out of the sleeping space.
- Room divisions: Some safari-style tents include an internal partition or a separate sleeping pod, which matters a lot when traveling with children who go to bed earlier than the adults.
- Storage space: Look for listings that mention hooks, shelves or a storage chest, because floor area that looks generous in photos fills up fast with open suitcases and damp jackets.
For a bed plus luggage in genuine comfort, aim for a floor area of at least 10 square meters. Anything smaller can work for a short couple’s trip, but families staying several nights will feel the squeeze. When in doubt, message the host and ask exactly what furniture is inside and how much free floor space remains.
Materials and Weather Performance
The fabric a tent is made from shapes your comfort more than almost anything else, and the two main options behave very differently. Canvas is the traditional glamping material, loved for good reason. It breathes naturally, which means it stays noticeably cooler in summer heat and cuts down on condensation dripping inside. The trade-offs are weight and upkeep: canvas is heavy to transport and needs re-waterproofing every 1-2 seasons to keep its rain resistance, which is why established glamping sites handle this maintenance for you.
Synthetic fabrics
Polyester and Oxford fabric tents are the modern alternative. They are lighter, cheaper and dry much faster after rain, which makes them practical for pop-up glamping sites and shorter stays. The downside is breathability: synthetics trap more heat, so a synthetic tent that felt fine on a cool evening can become uncomfortably warm by late morning in summer. If you are booking a synthetic tent for warm weather, check that it has generous mesh windows or vents.
Details that matter in bad weather
Whatever the fabric, a few construction details separate weatherproof tents from fair-weather ones. Look for taped or sealed seams, since unsealed stitching is the first place water finds its way in during sustained rain. A hydrostatic head rating of 2000mm or more is a sensible baseline for the flysheet, indicating the fabric can handle a decent downpour rather than light drizzle.
Finally, check the guy lines and anchoring. Reinforced guy lines, sturdy tensioners and solid stakes keep a tent stable when wind picks up overnight, which matters even in summer. If a listing does not mention these details, ask the host directly how the tent performed in the last big storm. A good host will know, and a vague answer tells you something too.
Season and Climate Considerations
Timing matters as much as tent style when you are planning a glamping trip. In most northern-hemisphere destinations, peak glamping season runs from June through September, when nights are warm enough for lighter canvas structures and open bell tents. Book during these months and you can usually travel with less insulation and still sleep comfortably.
Shoulder-season trips are a different story. In April-May or October, temperatures can drop sharply overnight, and an open bell tent with a single canvas layer offers little protection against cold air and damp ground. For these months, prioritize insulated geodesic domes or pod-style tents, which hold heat far better and often come with proper heating. Mountain and coastal sites are especially unforgiving outside summer, so check what heating and insulation the host provides before you commit.
Hot climates flip the priorities entirely. In desert or tropical destinations, insulation matters less than airflow, because the real challenge is keeping the tent cool through the afternoon. Look for these features when comparing options in warm regions:
- Mesh panels on windows and doors let cross-breezes flow through while keeping insects out, which makes a noticeable difference on humid nights.
- Ventilation flaps at the roof or peak release rising hot air, preventing the tent from turning into an oven by mid-afternoon.
- Shade placement matters too, so ask whether the tent sits under trees or in full sun before booking.
Budget and Value
Glamping prices vary widely depending on the tent style and what comes with it. At established glamping sites, safari-style canvas tents typically cost $150-500 per night, with the rate reflecting tent size, location and the level of comfort provided. Dome and pod stays often sit at the higher end of that range, since they usually include heating systems and solid flooring that cost the operator more to install and maintain.
Compare what is included, not just the rate
A nightly rate means little on its own. Two tents at the same price can offer completely different experiences depending on what is inside. Real beds, quality linens, working heating and a private bathroom change the value equation far more than a small difference in the nightly rate. A $200 tent with a proper bed, heating and an en-suite bathroom can be better value than a $180 tent where you carry your own bedding and walk to a shared block.
Before booking, list what each option includes and price out anything missing. If you would need to rent bedding, buy a heater or drive to showers, those costs add up quickly. Ask the host for a clear breakdown of what is provided, then compare options on total comfort per dollar rather than the headline rate. This approach also helps you spot genuinely good deals at busier times of year.
Booking Timing and Site Checks
A great tent in the wrong spot on a site can still make for a disappointing trip, so a few checks before booking pay off. The pitch itself matters almost as much as the tent: a perfectly good canvas structure on a sloped, waterlogged patch of ground will feel miserable by morning. Popular glamping sites fill quickly, and the best pitches go first, which means the guests who ask the right questions early tend to end up with the level, sheltered spots. Work through the following steps before you commit to a stay:
- Book early for summer dates. For peak-season trips, reserve popular glamping sites 2-6 months ahead. Holiday weekends are even tighter, so book earlier than you think necessary if your dates include one.
- Ask the host about terrain. Find out whether the tent sits on flat, well-drained ground or a slope, since a tilted floor makes for an uncomfortable night and a soggy one after rain.
- Check shade and exposure. Ask how much shade the tent gets and how exposed it is to wind, especially on coastal or hilltop sites where gusts can rattle lighter structures all night.
- Confirm distances to facilities. If bathrooms are shared, ask how far they are from your tent. A five-minute walk in the dark with a flashlight is a detail that shapes your whole stay.
- Read recent reviews for weather. Look specifically for reviews from your travel month and search for mentions of storms or heatwaves. Guests often describe exactly how the tent held up, which tells you more than any listing description.
Ten minutes of these questions can save you from a soaked tent, a sleepless windy night or a long trek to the toilets in the middle of the night. It also tells you a lot about the people running the place. Hosts who answer clearly, promptly and willingly are usually a good sign of a well-run site, so treat slow or vague replies as a small warning sign too. If a host hesitates to describe the ground conditions or shrugs off questions about drainage, that silence is worth more than any photo in the listing. Trust the details, not the marketing shots.
Wrapping Up Your Glamping Tent Choice
Glamping tents can look nearly identical in photos, yet two stays at the same price point can feel completely different once the wind picks up or the temperature drops. The fix is simple: match the style, size, material and season to your specific trip before you get distracted by pretty interiors.
Start with climate and capacity, because those two decisions shape everything else. Once you know whether you need a wind- and snow-ready dome or a breezy summer bell tent, and how many people are actually sleeping inside, the rest of the choice falls into place easily. Budget between $150-500 per night for canvas safari stays, and book popular summer dates 2-6 months ahead to avoid settling for whatever is left. If this guide helped you plan your trip, leave a comment or share it with a fellow traveler.